Showing posts with label sinski. Show all posts
Showing posts with label sinski. Show all posts
Tuesday, October 20, 2015
Motorcycle Led Headlight

The photo shown with a beam shot taken at an angle of 45 degree in front.
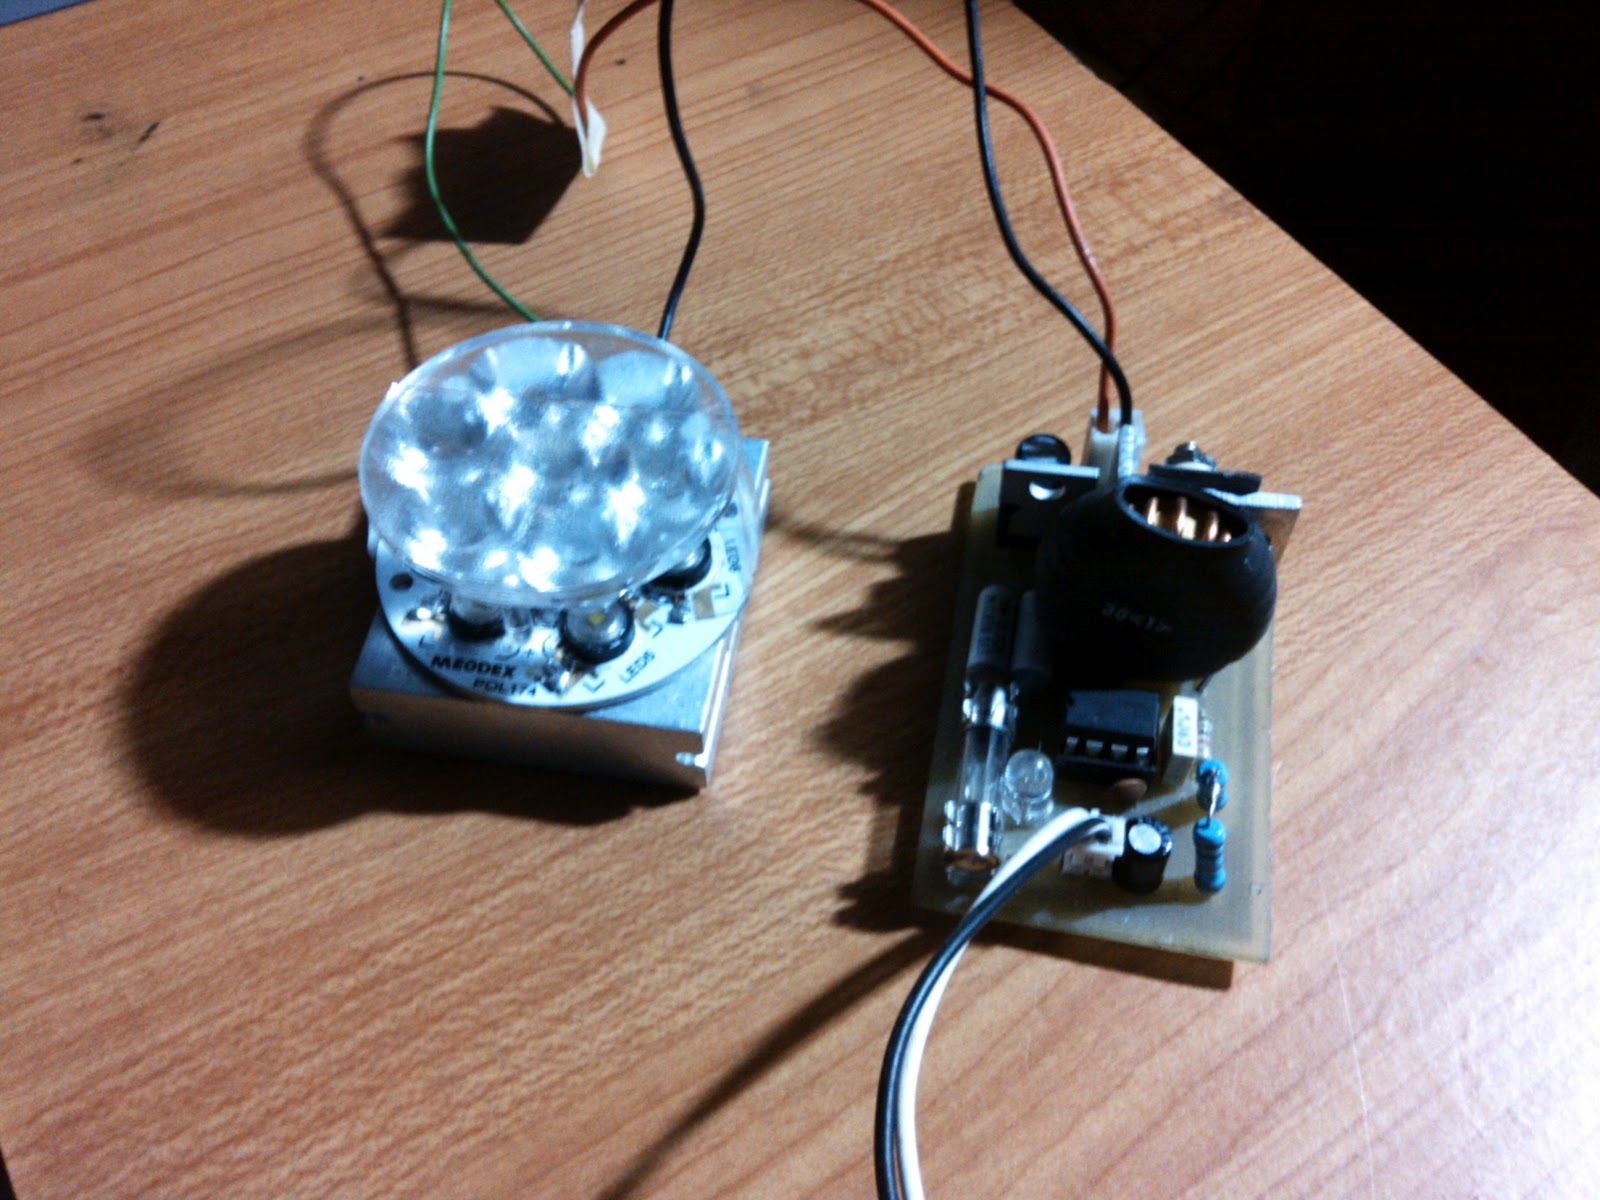


And its time to power up the led headlight to see how it went well. I used for this test 12 volts 1.5 ampere wall adapter.


Iron Cast Wheel repainting
We all know that cast wheels made of iron is prone to rusting. This what happened to my sinski scooter cast wheel, and so its time to repaint it. Firstly, we have to scrap all rusted parts with knives, sandpaper, and put anti rust primer on it to stop the rust. I have not put out the tyre from the cast wheel so i'll be using the power of masking tape to mask unwanted area not to be painted.
 The picture shows my iron cast wheel with red primer been applied. I also mask the area of the tyre ready for paint spray. But wait there are still some area of the tyre not covered. Well, its time to have some old newspaper for the covering of the whole tyre.
Read more »

Sinski scooter 150cc restoration exteriors


Sinski Scooter 150cc
I am in the process of restoring a sinski scooter150cc with a GY6 based engine that was stock for a year and so. Before it was handed over to me by my cousin, it rocks. The engine running very smoothly, and even running fast due to its 150cc engine. I was terribly surprised of what he did to this scooter after. they just stored the scooter for in no particular reason at all, getting soaked in rains, directly hit by sunlight after..until the chassis begins to corrode, and body kit color fading away. And so i immediately came to my senses to get the scooter and try to restore it to its beauty and rocks the road again.
This is the picture after i remove the body kit, and just look at the chassis.
Read more »
This is the picture after i remove the body kit, and just look at the chassis.

Im in the process of applying red primer after scraping all the rust on some parts of the chassis to save it.
but from the time being since i need to gather all the materials for the restoration, i'll let her sleep for a while. I hope at least 90% of the original beauty will re surface on this scooter.
The body kit had cracks on its pinted surfaces..perhaps due to temperature changes, stuck up throttle cable, front brake master inoperable, with left front shock absorber leaking fluids.
 The chassis was totally corroded and may weaken it. This will be the very first thing to do with this bike.
but from the time being since i need to gather all the materials for the restoration, i'll let her sleep for a while. I hope at least 90% of the original beauty will re surface on this scooter.
The body kit had cracks on its pinted surfaces..perhaps due to temperature changes, stuck up throttle cable, front brake master inoperable, with left front shock absorber leaking fluids.

Subscribe to:
Comments (Atom)