Showing posts with label led headlight. Show all posts

Tuesday, October 20, 2015

5 LED Motorcycle Headlight (review)


Led headlight for motorcycle are in the beginning of their trial and error process that many claim a thumbs up, these are those users who actually fitted it on their motorbike to name a few are yamaha mio, kawasaki fury, honda wave, and select unit with enough headroom on their headlight assembly. Variants come out in the open on three onboard high power leds, and as shown on the photo is a five led type with 5mm leds circled at the edge as to form a circle of light when main device is at the OFF position.

This article is just a review of the said led headlight for motorcycle and even for cars too but not as headlights but as an auxillary lighting.
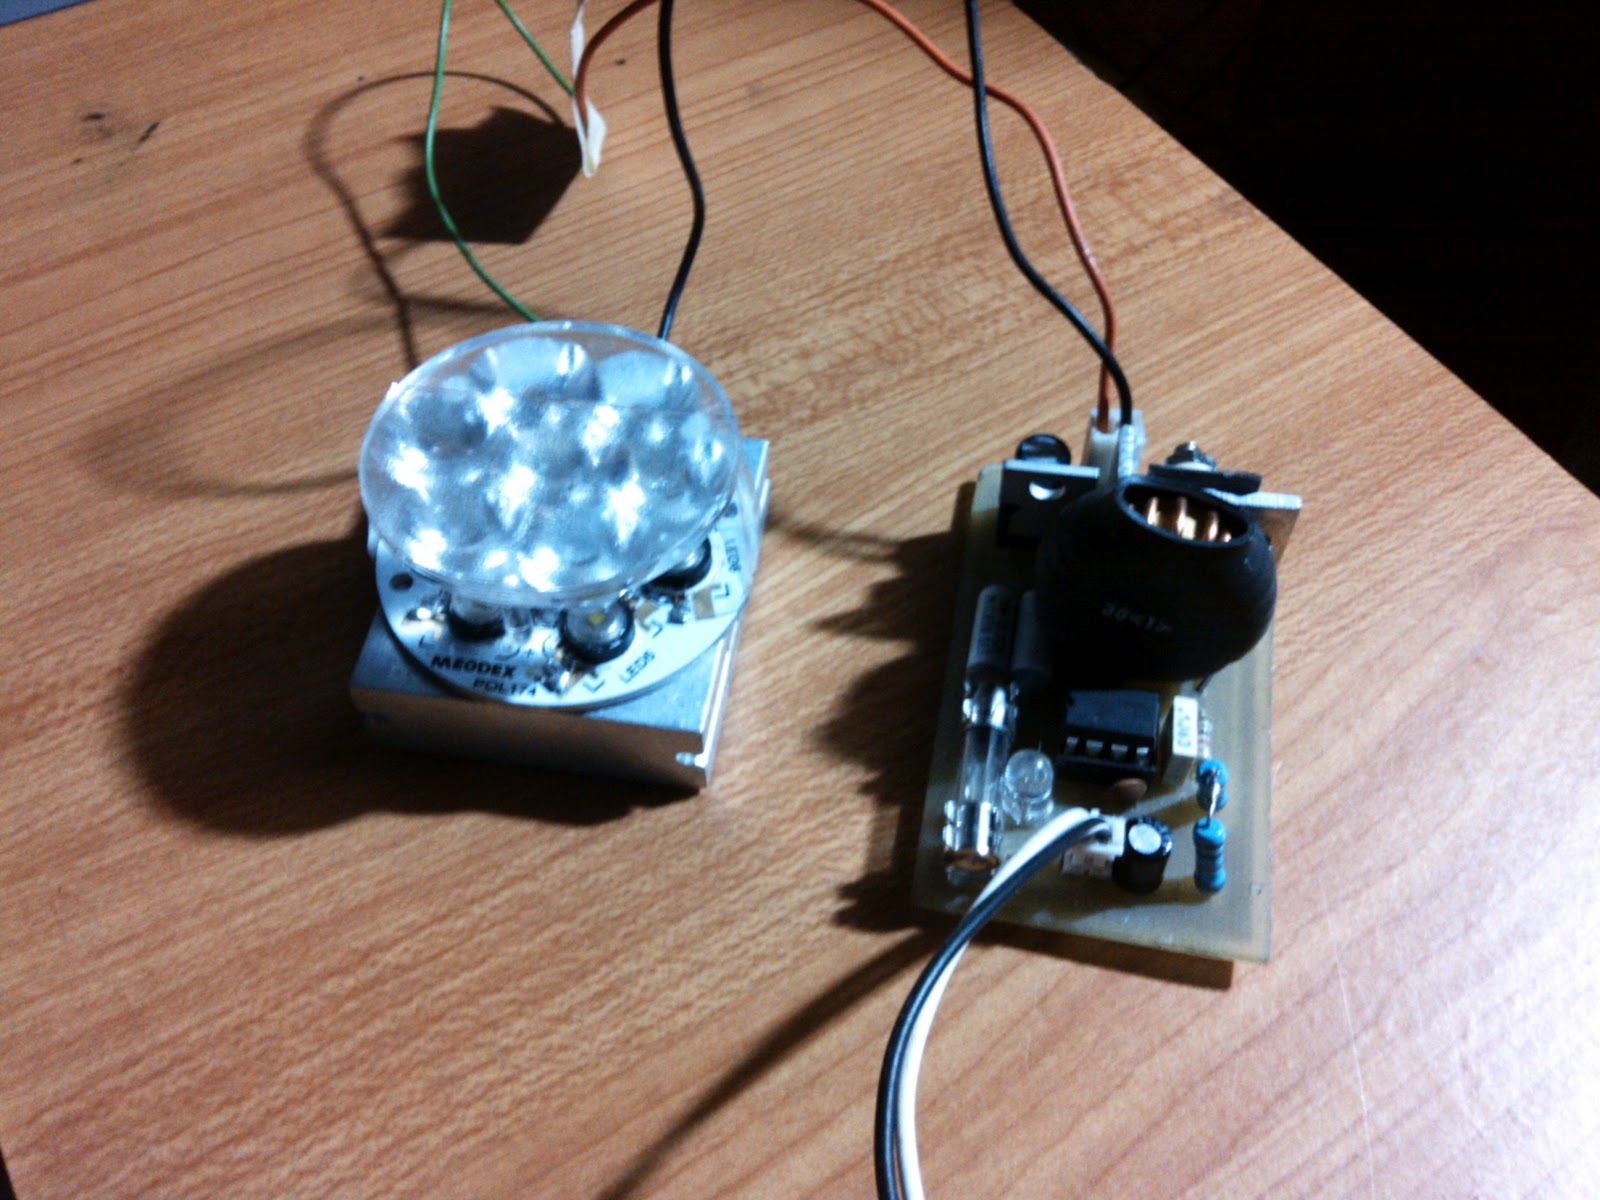
Read more »

Driving COB Led

COB, (Chips on Board) , multi LED (light emitting diode)chips are packaged together as one lighting module. When it light up, it looks like a lighting panel. COB LED is multi chips packaged, it can 10 times more increase lighting area,so it avoid uncomfortable glare by the maximum extent.By now, for small size chip, some famous LED chip manufacturer can reach 249lm/watt @ 20mA. But big size LED chip can only reach 161lm/watt @350mA.The light efficacy decrease when chip size is bigger. Also when LED driver increase current to LED, the light efficacy per watt is even low.COB technology provides significant advantages over surface mount technology (SMT) components in the design with better temperature management, smaller size of lumen packages and lower production costs. In general the life span of COB LED can be 40000-50000 hours.

COB led as shown above compose of seven (7) led in series and requires again a constant current driver, from tha specification found all over the net requires 12v driving them at 300mah of current.From the previous page that can be found here PROJECT LED HEADLIGHT . I still use the same DIY led driver so that the voltage of the led in series will float depending on the forward voltage of each led and the current to the led will then remain constant.
Actually, there are so many led driver being offered all over the net, i myself  wanted to have one of them at least, but due to lack of resources, i just make my own out from those datasheet of every semiconductor that performs the same function for led lighting. And from the schematic, will make PCB for those components to make the circuit work. Pre testing is required not to waste every component.


Schematic of the led driver can be found here led boost constant current driver . For Pcb, you really have to make it on your own since i am just making mine using pen. But to make it easier, there are lots of downloadable PCB software available for all of you to test.

COB led connected to the led current driver (sorry for the photo, grayscale color :(


Beam shot was taken at a 90 degrees, note that the surrounding do not have any other lights on, only the COB led itself..hmmm too powerful for me, wide beam actually cover lots of area than my previous attempt using seven (7) x 3 watts power led in series.


Shot taken now at 45 degree from the actual beamshot, too much glare is obvious, (disclaimer), when doing such experiments on high power leds, avoid prolong exposure of the eye to the actual beam, you may temporary have a blur vision after, and may cause eye disorder.


Actual beamshot towards the floor at my garage, very interesting that due to the wide cover area of the led the beamshot was as if i am using a CCFL energy saving lamp, so that is why manufacturers use it for household lighting. :)


Read more »

Project LED HEADLIGHT

This is a test if high power led can be used as led  headlight, and to replace my sinski beta 150cc bulb headlight with this. It is a 7 strings of 3 watts high power led that will driven at 28v 700mah. Although the unit is not in near completion because of thermal reliability. I have not incorporate it on my scooter just yet.


This is the beam..(shot taken away from the beam of the led to protect the ccd of my camera). It is not quite powerful because as i had said, there is a thermal runwaway on my CC driver. I had used the NCP3063 by on semiconductor and I based the design on their datasheet. with an efficiency of 79% which is too low for my desired application and those power losses gone to waste by heat build up.


This is the video of the beam shot which was taken at a very dark place without any other light aside from the led.


Read more »

Motorcycle Led Headlight

This page an update to my previous post Project LED headlight to where i incorporate it already to my sinski 150cc headlight housing. (actual BEAM shot on road not yet taken)

The photo shown with a beam shot taken at an angle of 45 degree in front.


Constant current led driver is needed to prolong the life of the led array and to compensate for the changes in input voltage during use.


The headlight housing to where i'll be incorporating this led headlight prototype to replace my scooter filament type headlight. The original uses 35watts for low beam and 35 watts for high beam.


Headlight lens need to be removed in order for me to fit the led headlight collimating lens. The cover of the headlight was easy to dismantle..(note that new or brand new housing is not that easy to remove because of the anti moist glue.) my headlight perhaps due to the long period it was stock, the glue just didnt stick that much, and dis assembly was a snap.


With the original bulb remove, the hole to where my led headlight bare board, is actually fit, like pair made for each other..:-)) and no more additional drilling holes for this project.


Perfect fit without the collimating lens.


with collimating lens attached on the led array to focus the beam in front.


view of the heatsink for the bare board of the led array. Heatsink is needed, (fan not necessary when the bike is moving, rushing air in front will cool down the heatsink..


And its time to power up the led headlight to see how it went well. I used for this test 12 volts 1.5 ampere wall adapter.


Read more »

Yamaha Mio Soul Led Headlight Conversion

Led headlights are now widely installed on motorcycle nationwide. With their low power consumption and ampere draws from the battery, It has bloom out into the open and every motorcycle shop offers a variety from dual led to triled, to projector type with angel eyes, and all have different characteristic on how to install, the later was the difficult type fitting inside the headlight assembly. Dual and Tri are the easiest and more economical to use for the fitting will just be like of the original bulb Rear entry.

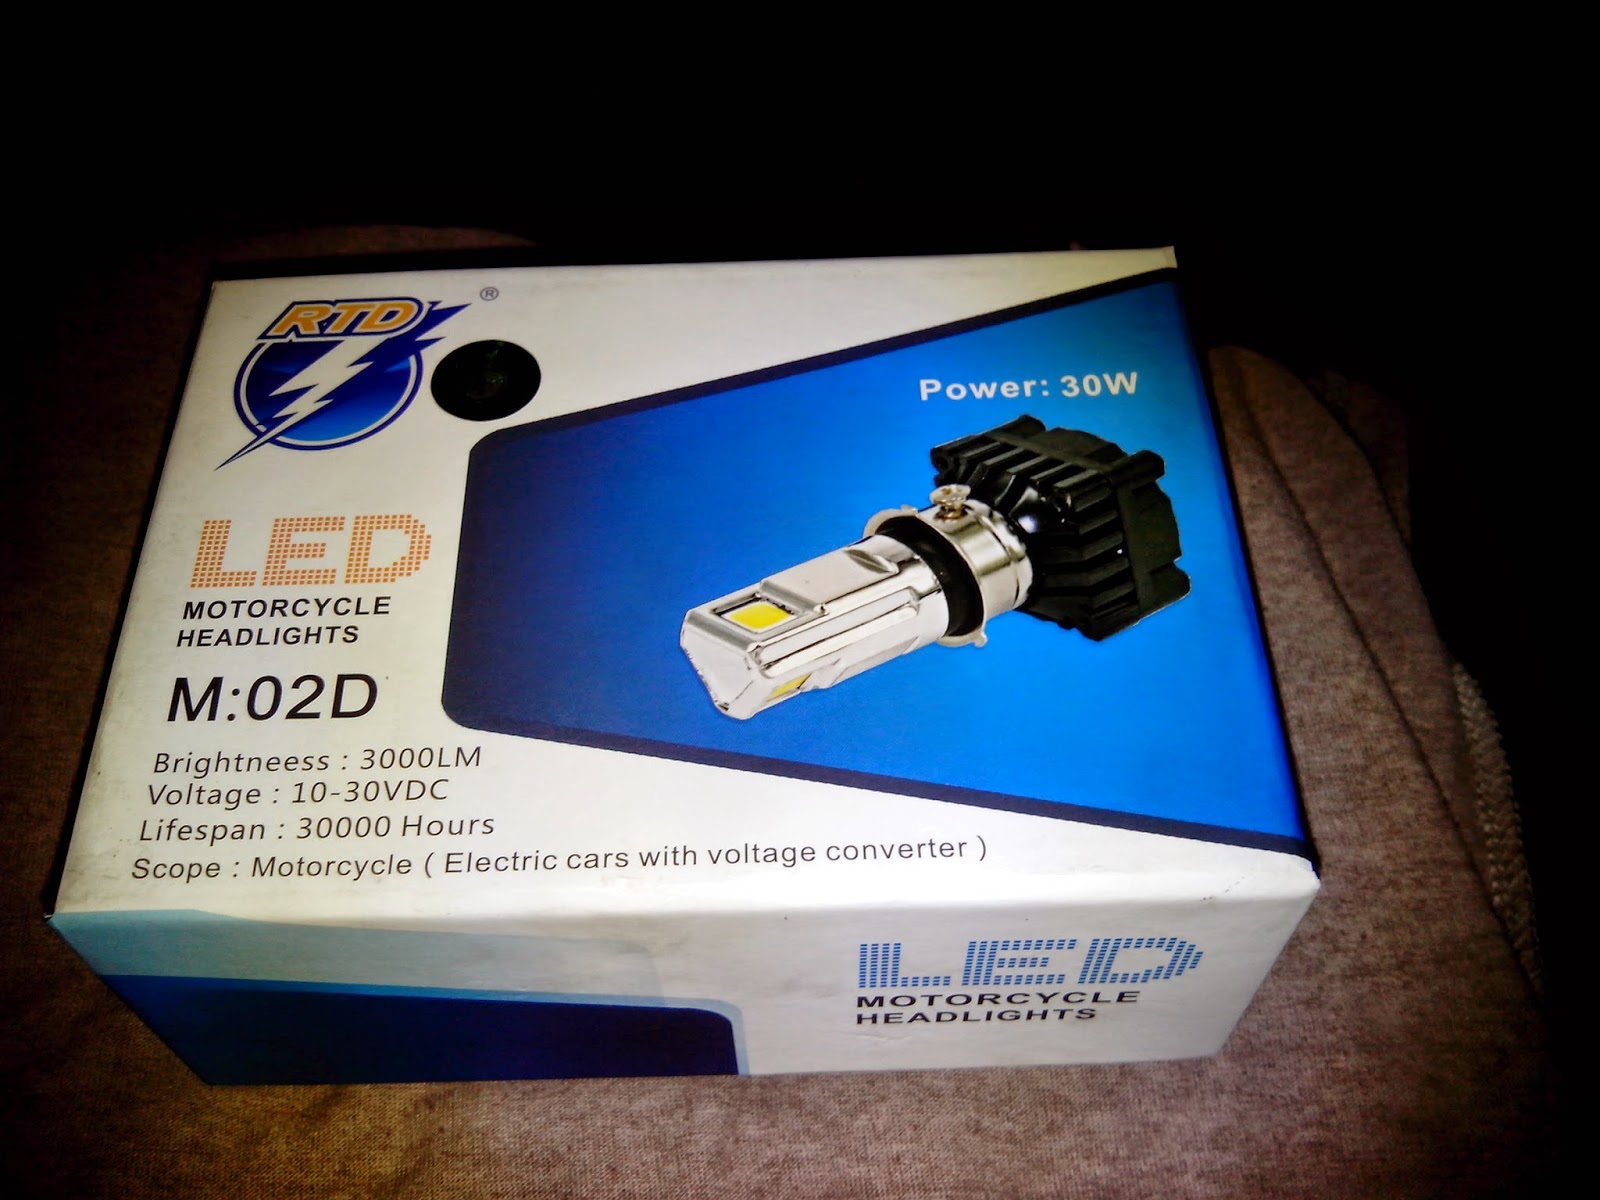
How to install RTD triled on a Yamaha MIO SOUL properly? Very easy actually, but readers must be advised that to power the Led, DC must be used, unfortunately, almost all motorcycle and scooters original headlights are powered by AC being supplied by the stators. When you switch ON your headlight as the engine is running and the bulbs and panel lights are fluctuating, then automatically, It is AC powered and have to be converted first to DC before installing Led Headlights.
Mio soul is the easiest one to convert since the panel lights was already DC. Isolating the wire the has the AC driven source for park and headlight and redirected to the supply of the panel lights as shown on the left picture.

When done.
Installing the led and replacing the bulb is by using the supplied connector, follow the procedure within the manual supplied on how to attach it to the bulb socket.

Original DUST cap
Note: The original bulb of the headlight on this scooter model have a DUST cap..as shown. to protect it of course from outside debris that may enter at the back of the assembly, and that wehn the bulb was replaced by RTD triled. There is no way to return the dust cap and leaving it without any will be a disastrous and costly. So we need to improvise.

look for any sort of plastic cap of the same size of the original but with more height, in my case, I use the cap of a choke/carburetor cleaner that fits perfectly with same outer diameter as the original and when it was placed to cover the RTD triled.
Perfect fit as shown, just put some small amount of super glue..DONE!!!

Wiring is not that difficult too, since the system was already converted to DC headlight. follow the instruction of the three wire to which is which,

Mio soul color code for the headlights are this
1. Green wire --low beam
2. Yellow wire --high beam
3. Black --ground

The approach is not to cut any wires to preserve the original wiring in case problem arises with the led replacement and always ready for the refitting of the original bulb headlight.


View of RTD triled inside the reflector
 Connection is shown . With the soldering is done, yes solder it. just do not twist or tap it to avoid getting it lose. Cover the original bulb socket with electrical tape to avoid touching any metal part of the chassis, for it is still live when you turn on the led headlight.
 Park light only TRILED off

low beam
 TRILED ON
Hi beam


Read more »

Inside E27 5 Watts Led

I know many of you wondering what's inside a household led lighting such as this one shown on the photo. A 5 watts led light with E27 type socket, same as those CCFL energy saving lamp. They are commonly been found nationwide on hardware store, supermarket and electronic supplies at an affordable price. Being an enthusiast and a DIY'er, i got curious again what was inside this kind of household lighting. I recently bought one for another experimentation and wanted to take a peek inside.


By twisting the diffuser, at last the leds came out and i wasn't surprised at all. 5 pieces of 1 watt led was used to bring out the 5 watts specification of this led lighting. They were soldered on an aluminum piece of PCB, to where they will act as the minimum heatsink, and the violet (purple) fins as the main thermal support for the assembly. Getting deeper onto it, i desoldered the board to the main heatsink and


Read more »

Max16820att high power led string driver

Led headlights are beginning to emerged from the open although there is still no true led headlight available in the market, they are still on the experimental stages for beam, focus, reliability, and if there was, it will be expensive.So why not experiment with leds and come up with your own. Using one Ic and some discrete components, you can do so.


 In this page, tried using max16820at+t by maxim

The MAX16819/MAX16820, step-down constant-current high-brightness LED (HB LED) drivers provide a cost-effective solution for automotive interior/exterior lighting, architectural and ambient lighting, LED bulbs such as MR16 and other LED illumination applications.

The MAX16819/MAX16820 operate from a 4.5V to 28V input voltage range and feature a 5V/10mA on-board regulator. A high-side current-sense resistor adjusts the output current and a dedicated PWM input (DIM) enables a wide range of pulsed dimming.


Read more »